Frontbands and Buttonholes

One the last steps in knitting your Audrey’s Cardigan is the Front Band section. Here you will pick up stitches along each Front and around the neck and then work in rib stitch (and work buttonholes too!). Below are tutorials that will help you with each of those steps:
Pick-up and Knit Stitches
Check out my video tutorial below to see how I pick up stitches for the Front Bands:
Buttonholes:
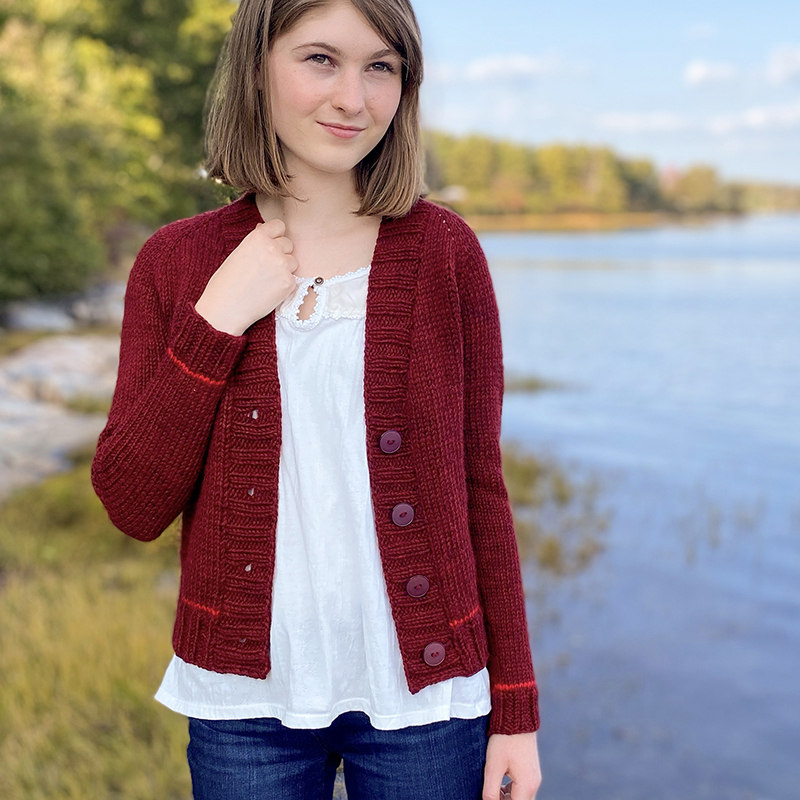
Audrey is a v-neck, and the buttonholes will be placed on the right front (remembering that “right front” is from the perspective of wearing the garment), between the hem and just below the underarm, to right before where the v-neck shaping ended (versus a crew neck sweater where the buttonholes would go all the way up to the neck). In the pattern, in the “Front Bands” section, right after Row 5 you will be instructed to do “buttonhole placement.” Below are some photo visuals to go along with the written instructions I provided in the pattern.
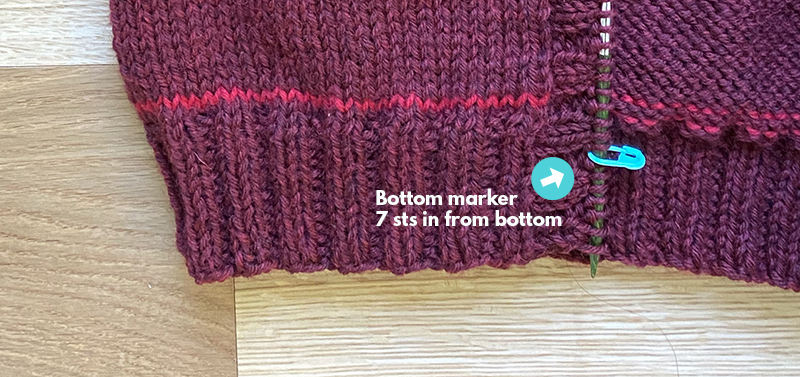
Using locking stitch markers, you will place where your buttonholes will go. Lay work out so that you are looking at the RS: At bottom hem edge, place a marker 7 sts in from the top bottom:

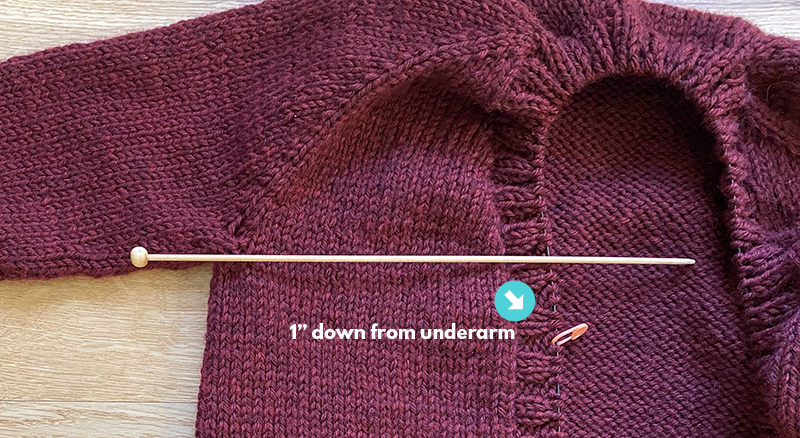
Measure a horizontal line from the underarm to the ribbing and place a second removable marker approx 1” down from this point, between 2 purl sts (note: I used a knitting needle as my ‘horizontal line’ to show height of underarm):

Then you’ll want to make the remaining 2 markers in-between. In my sample, knit to the exact length in the schematic, that was 12 stitches apart (so that is what’s listed in the pattern). But if you altered the length at all (or perhaps if you just picked up more buttonband stitches), you may have more stitches in-between – that is totally ok! The key is to just make sure to place your markers in-between 2 purl stitches. So the number of stitches inbetween the other markers may be somewhere between 12-20, depending on the final length of your cardigan.
I go over this in more detail in my video below, which also includes how to work the actual buttonhole row – check it out below!
