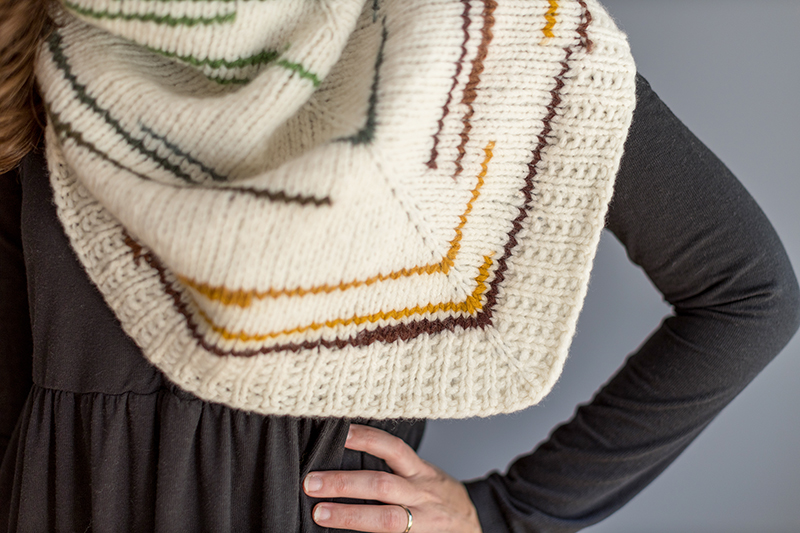
Airplane Mode Tips
On this page you’ll find tips & tutorials to help you make your own Airplane Mode scarf/shawlette! You’ll find information about:
- Yarn Choice
- How to wear it!
- Size of scarf/shawl (and how to adjust)
- Construction & getting started
- Technique tutorials for:
- Long-tail cast-on
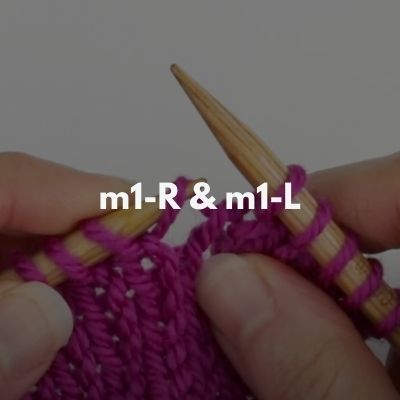
- m1-R & m1-L increases
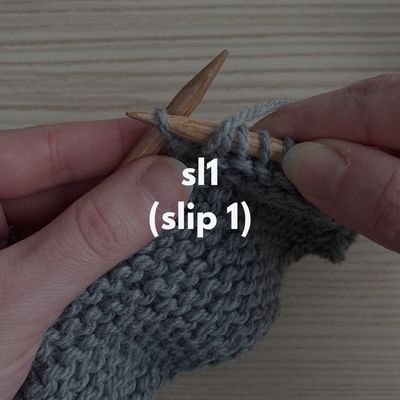
- sl1 (slip one)
- Tip for joining color B
- Binding-off in pattern
Yarn Choice
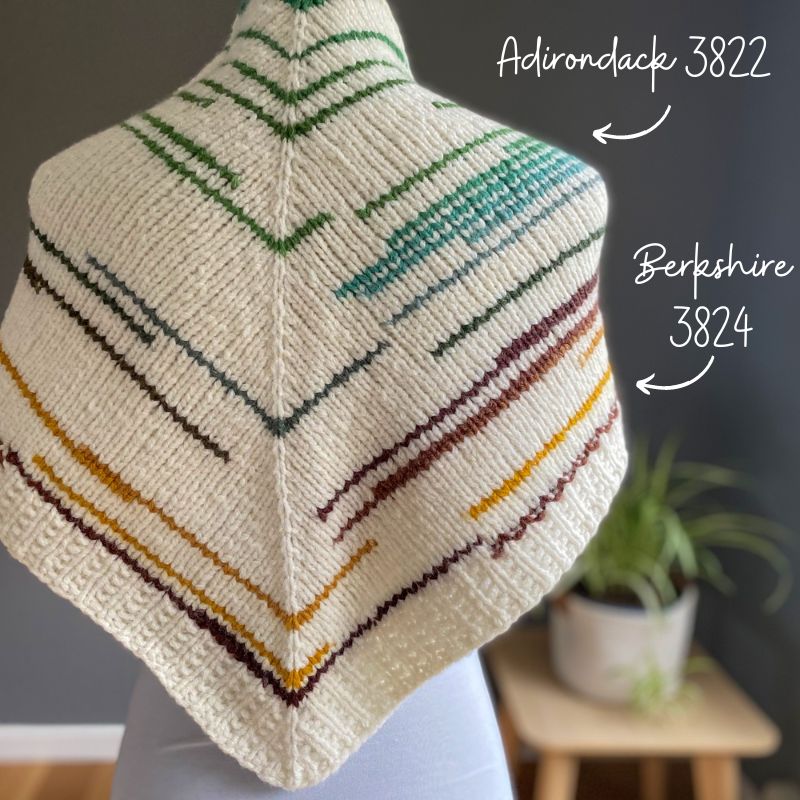
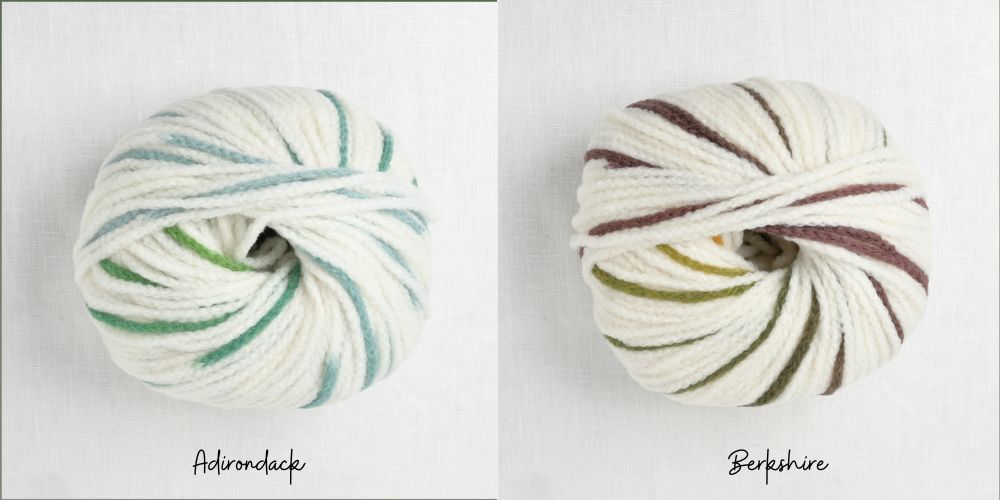
I used 2 different colors of the bulky-weight, chainette-construction yarn Berroco Dash (Adirondack & Berkshire). This yarn is fluffy and super soft, and features unique bright ‘dashes’ of colors throughout. These dashes make this an addictive knit, because you’re waiting to see where the next dash will show up! Plus, with it’s chainette-construction, this yarn is so light & airy, despite it being technically “bulky-weight”. So if you’ve shyed away from bulky-yarn in the past due to not wanting anything heavy, I recommend giving this yarn a try!
Below is an example of the 2 colors I picked. There are 9 different colorways to pick from, and many local yarn shops are carrying this yarn so check with yours to see what they have in stock! I purchased mine at my local shop Mother of Purl in Freeport, Maine.
You can definitely knit this scarf though in any bulky-weight yarn. If you don’t want the dashes of color but want the light & airy feel of the chainette yarn, other similarly constructed bulky-weight yarns are: Woolfolk Luft, Shibui Murmur or Juniper Moon Farm Beatrix. But you really could use any bulky-weight yarn so if you’d rather this just be a stash-busting project you can totally do that!
You can also use any-weight yarn – you would just need to alter the pattern a bit by repeating the rows in sections 2, 3 and 4 more times.
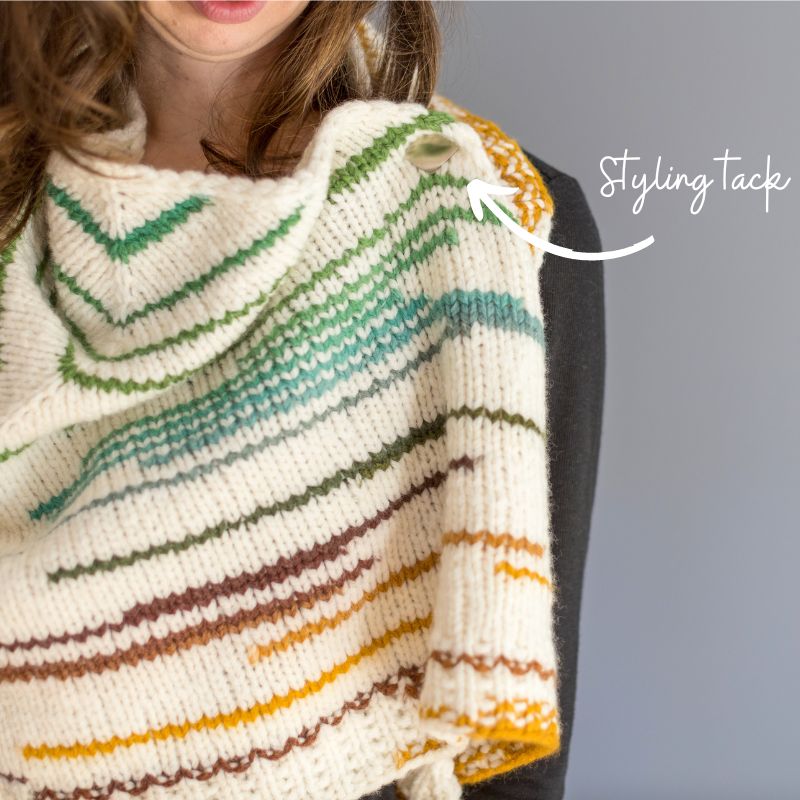
How to wear it!
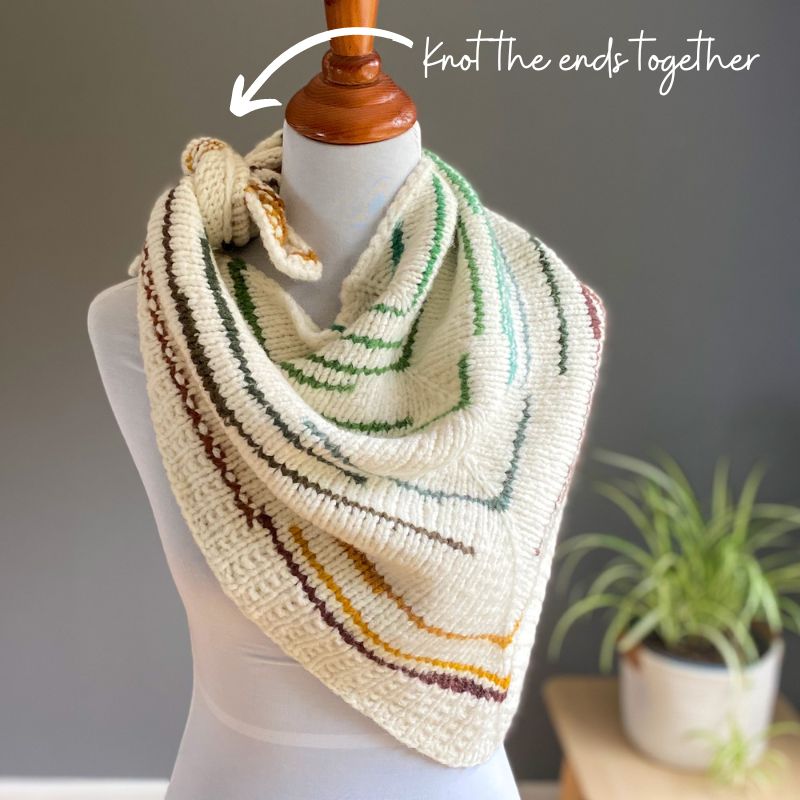
Since this is more of a shawlette than a full-on shawl (so it’s smaller), how can you wear it? I show 3 possible ways below!
Size (and how to adjust)
Interested in making your Airplane Mode larger? It’s super easy – see below.
After blocking, the top length measures approx. 46″. This is long enough to allow you to wear it like a kerchief if you knot your 2 ends together, or as a little scarf when just draped around your neck. But if you prefer to have yours longer for more styling options, here is what I recommend.
Option 1: To add just a couple of inches of length: In section 2 of the pattern, you’re instructed to continue with color A until you have 59 sts on either side of the center markers. But, you’ll definitely have a decent amount of color A yarn left to add an inch or two in overall length. Simply continue repeating rows 1 and 2 of Section 2 until you almost run out of yarn or you’ve added the amount of inches you’re happy with.
Option 2: To add a bit more length than option 1: purchase an additional ball of color B. Then, work the adjustment of option 1, but on top of that also work more rows of color B in section 3 (repeating rows 1-2 until you use up most of one ball and then use the second ball for section 4).
Construction & Getting Started
If you are new to knitting triangle scarves/shawls, then I wanted to provide a few tips that you might find helpful:
- You are casting on a small number of stitches but will then be working increases to grow your scarf out.
- Section 1 of the pattern is where you get things set-up – you’ll cast-on and work your first few increase row (working m1-R and m1-L increase stitches) and place markers for your center stitch.
- On row 2, where you make your first increases, working those first m1 increases can be a bit cumbersome just because you don’t have much fabric on the needle yet, and you’re working with a large US 13 needle. It’s normal and to be expected! Here’s a helpful tip: for the m1-‘s, after you’ve picked up the loop onto the left needle and you’re about to knit it, torque the stitch with your left hand a bit to give it some slack – this makes it easier for the right stitch to go into it.
- After section 1 is set-up, moving forward the pattern is to work 1 increase 2 stitches in from each edge and 1 increase on either side of the center markers on every RS row.
- What if you forget an increase? Don’t worry if you mess up and forget an increase now and then. This pattern is very forgiving – just make sure to add an extra increase on the next row. The key is that you just want to make sure by the very end (before you start section 4) that you have an odd number of stitches on either side of the center markers.
Technique Tutorials
Below you can find photo/video tutorials for the techniques I used in this pattern:
Tip for Joining Color B
In section 3 of the pattern you will switch from working with color A to color B. I make note in the instructions that I recommend not joining color B at the beginning of row 1 though. Why is this? Because Airplane Mode features a slip stitch edging and if you join a new ball of yarn right at the edge, it could disrupt the ‘flow’ of this edge. So what I suggest is this:
- Start row 1 of section 3 with color A and work the first 3 stitches or so with it.
- Then join color B on stitch #4 or so. The method I like to use is knit 1 stitch with both the old color and the new color, then drop the old color and only knit with the new color. Then on the next row, when you encounter this stitch where you had knit with both colors, just make sure to knit the 2 loops together. I demonstrate this technique in this video tutorial (although I show it on an edge, you can work the same technique anywhere in a row).
Binding-Off in Pattern
In section 4 of the pattern you work a broken rib stitch pattern. This is where on RS rows you knit all stitches but on WS rows you work in rib stitch. When it comes time to bind-off, I instruct you to do so on a RS row (so after working a WS row). And although all RS rows had been knit in this stitch pattern, when binding-off you should BO in the rib stitch (even though you are on a RS row).
What is binding-off in pattern?
When you’re instructed to BO in pattern, it means you should BO each stitch as it presents itself. Meaning, if you are binding-off in a rib stitch, if the next stitch is a knit stitch (so no purl-bump underneath it), then you should knit it, and then work the BO by lifting the second-stitch-in on the right-needle up and over the last stitch on the right-needle. And if the next stitch is a purl stitch (so it has that purl-bump underneath it), then you should purl that stitch, and then work the BO.
I worked this “BO in rib pattern” when working my Audrey’s Cardigan and have my video demonstration here. Keep in mind this is a 2×2 rib stitch vs the 1×1 in Airplane Mode, but it will demonstrate the concept of binding-off in a rib stitch which will be helpful if you’ve never done this before.


