I-cord Edge

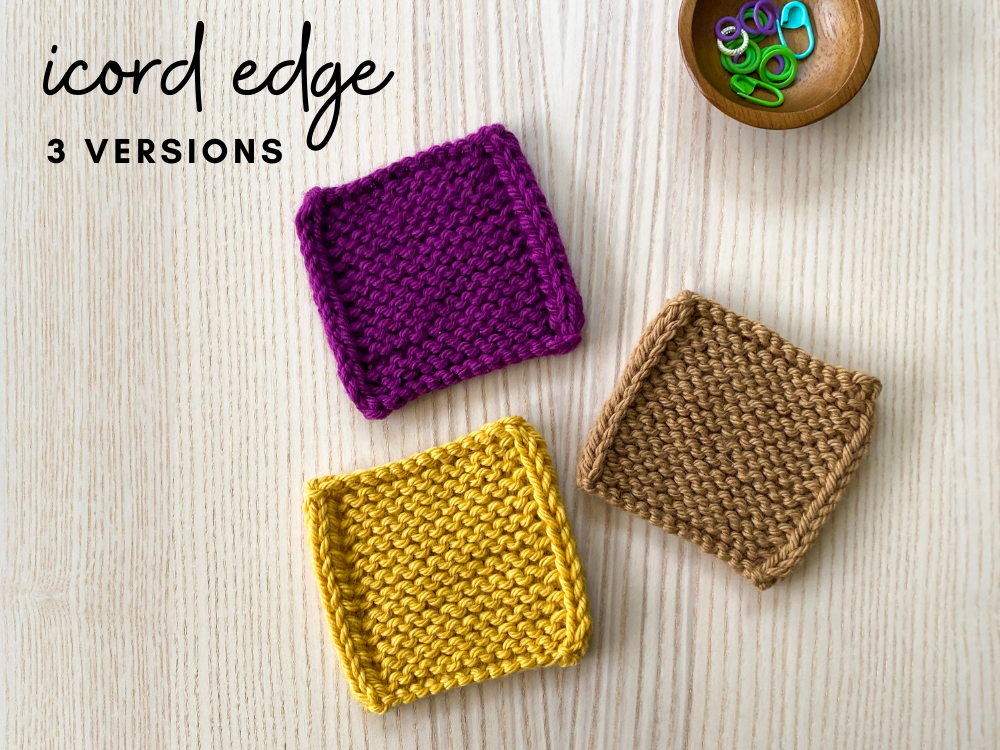
I love an icord edging (or sometimes written as “I-cord”) – it creates a nice, clean edge and makes even simple garter stitch look more elegant. There are lots of different methods of creating icord edges and designers may choose to use different maneuvers depending on the yarn, stitch pattern and look achieved. In the video below I have outlined 3 different methods I like to use (although keep in mind there are many more out there!). To watch my full video tutorial on how to work all 3 of these versions, click below!
In all of my examples (below and in the video), I am doing a 2 stitch icord edge and garter stitch (knitting every row) in-between. The amount of stitches you do will impact the thickness of your icord edge. In my samples, I used Berroco’s Vintage Chunky – since it’s a thicker yarn, I only wanted to do a 2 stitch edge. But for thinner yarns, you can do more stitches if you prefer.

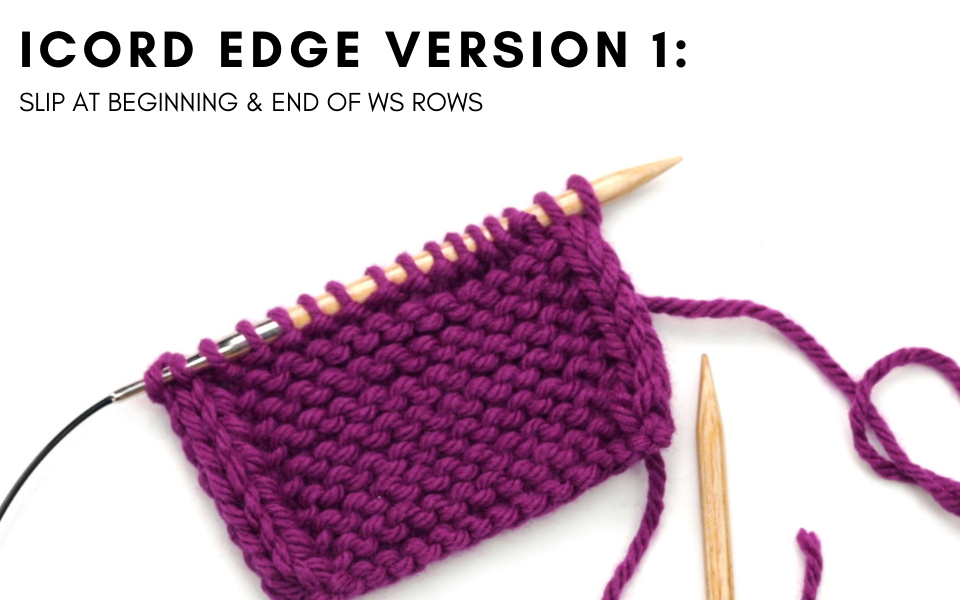
Instructions: On RS rows: knit all stitches to the end. On WS rows: Holding the yarn in the front, slip 2 stitches purlwise, then bring the yarn to the back of the work and knit to last 2 stitches, then bring yarn to the front of the work and slip 2 stitches purlwise.
Note: this is the version I used in my Carley Vest.

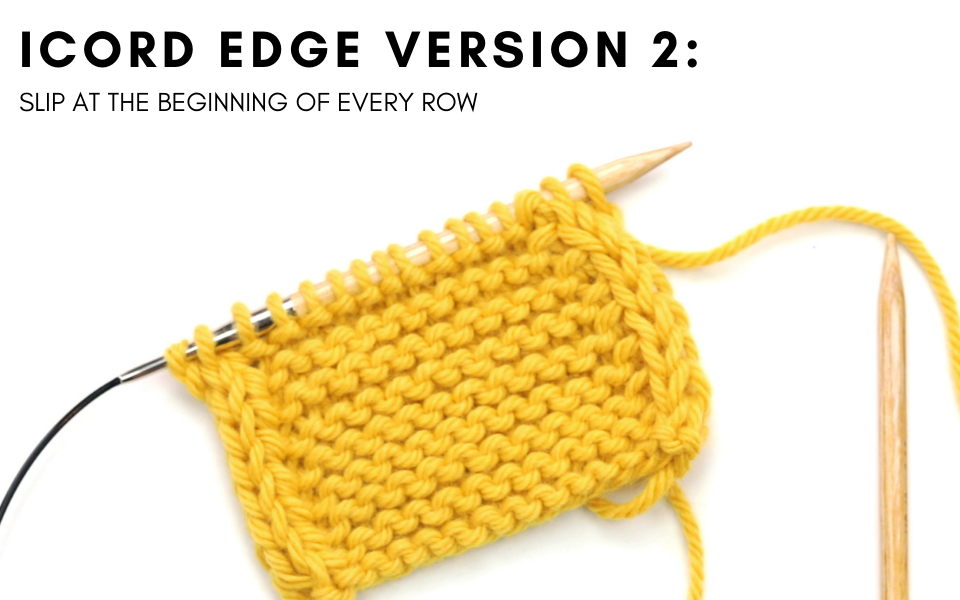
Instructions: On RS rows: Holding the yarn in the back, slip 2 stitches purlwise, then knit to the end. On WS rows: Holding the yarn in the front, slip 2 stitches purlwise, then bring the yarn to the back of the work and knit to last 2 stitches, p2.
Note: this is the version I used in my Alanis top (although in Alanis I slip 3 stitches instead of 2, but the technique and sequence is the same otherwise).

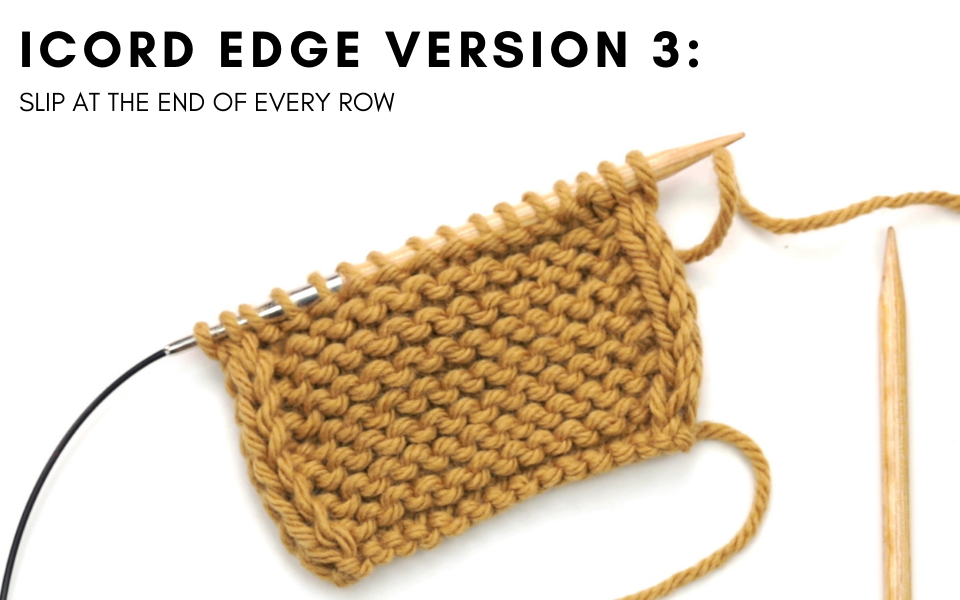
Instructions: On RS rows: Knit to the last 2 stitches, then holding the yarn in the back, slip 2 stitches purlwise. On WS rows: p2, then bring yarn to back of work and knit to last 2 stitches, then bring the yarn to the front of the work slip 2 stitches purlwise.
