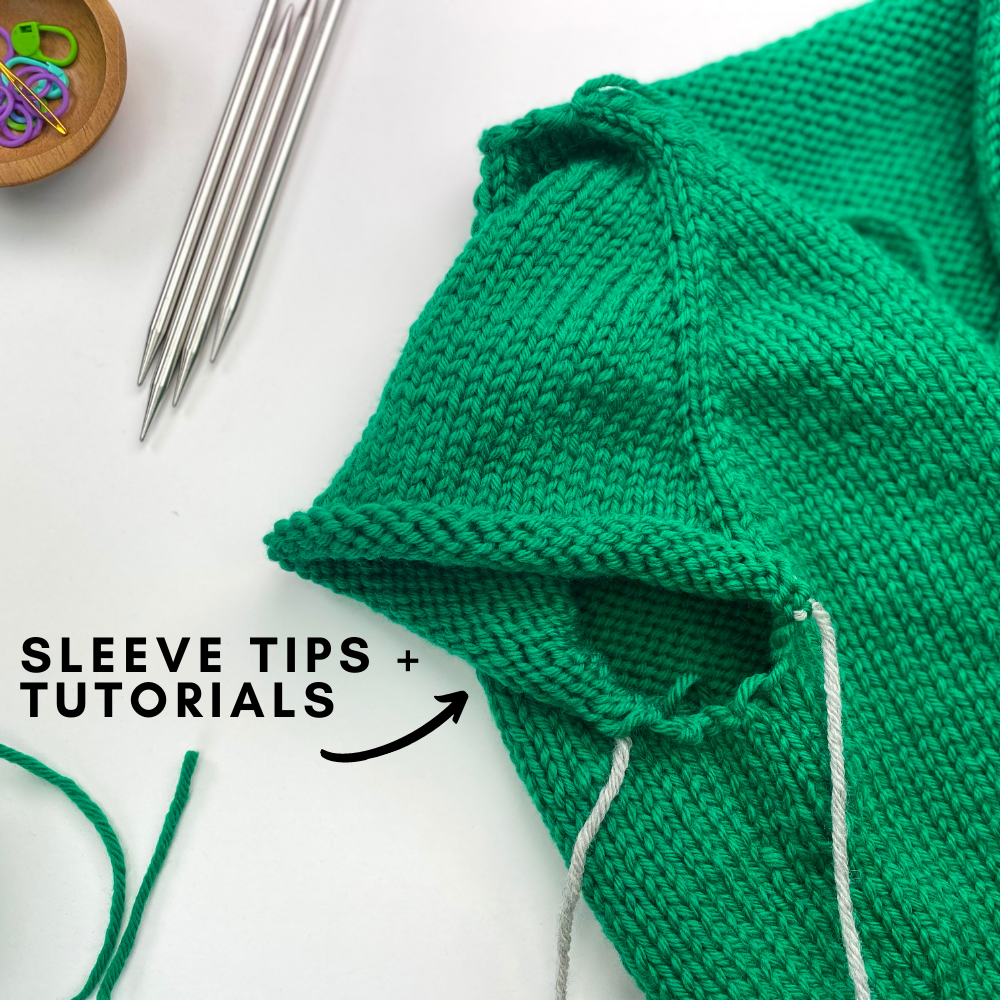
Sleeve Tips and Tutorials

Below are some tips and tutorials for working your sleeves on Audrey’s Cardigan! The topics are:
- Sleeve gauge (since you’ll be working in the round now)
- Adjusting sleeve length
- Adjusting sleeve fit
- Working sleeves on DPNs
- Working sleeves using Magic Loop
Sleeve Gauge
The gauge you matched for your body was Stockinette Stitch flat. But you are working your sleeves in the round, which means that if you are a person who’s in the round gauge tends to be tighter than their flat gauge, then my tip is this: use a larger needle size when working your sleeves. In this cardigan, this means that if your body was knit on a US 10 needle, then instead work your sleeves on a US 10.5 needle (and your cuffs on a US 10). If you’re not sure whether you are tighter in the round, then start with the regular needle and just know that it seems like your tension is considerably tighter than the body of your sweater, then just rip back to your underarm area and try it again on a larger needle.
Sleeve Length
The easiest way to make your sleeves longer is to just keep working in Stockinette stitch after last decrease round. This tip works well if you just want to add about an 1/2-1″ of length. But if you want to add more than that (if you know you typically like your sweater sleeves relatively long, then you can also add an extra round in-between each decrease round. Again, top-down raglan sleeves are so customizable so try it on as you go!
Sleeve Fit
If you want your sleeves a little less tapered and more relaxed, you can omit some decrease rounds and add more rounds in-between each remaining decrease round. For example, if your size said to repeat decrease round every 8th round 4 times, then every 7th round 4 times, that means you were repeating the decrease round 8 times total. Instead I want to repeat it 6 times. So I’ll just repeat the decrease round every 9th round 6 times. The key is – try it on as you go! You can start with every 9th round but then adjust as you get closer to the bottom of your arm. Adjust it however you like in order to get your preferred fit – just make sure your total stitch count at the end (before your rib cuff) is a multiple of 4 (and make sure to take some notes so you can repeat them on your 2nd sleeve!)
Types of Needles to Use for your Sleeves
When working your sleeves, you have a couple options – you can either work them on DPNs (double pointed needles) or use the Magic Loop technique. The reason for needing to use one of these techniques is because you will be working in the round in a small circumference, so a circular needle is usually too small. Alternatively, you could use a 16″ circular for sizes 4 or larger – however, at some point you will still need to switch to DPNs or magic loop as you’ll have too few stitches at your cuff to make a small circular work. Below are my tutorials for both DPNs and Magic Loop!
DPNs (double pointed Needles)
Starting on DPNs:
Adjusting stitches on DPNs:
Magic Loop Technique (using your 32″ circular)
Starting with Magic Loop:
Adjusting stitches on Magic Loop:
