On the Horizon Tips
On this page you’ll find tips & tutorials for making your own On the Horizon scarf/cowl. I cover the following topics on this page:
- Yarn Ideas
- Long-tail cast-on
- Joining a new color
- Binding-off in pattern
- YO, k2tog (for buttonhole creation)
- Pick-up and knit (for side ribbing)
Yarn Ideas
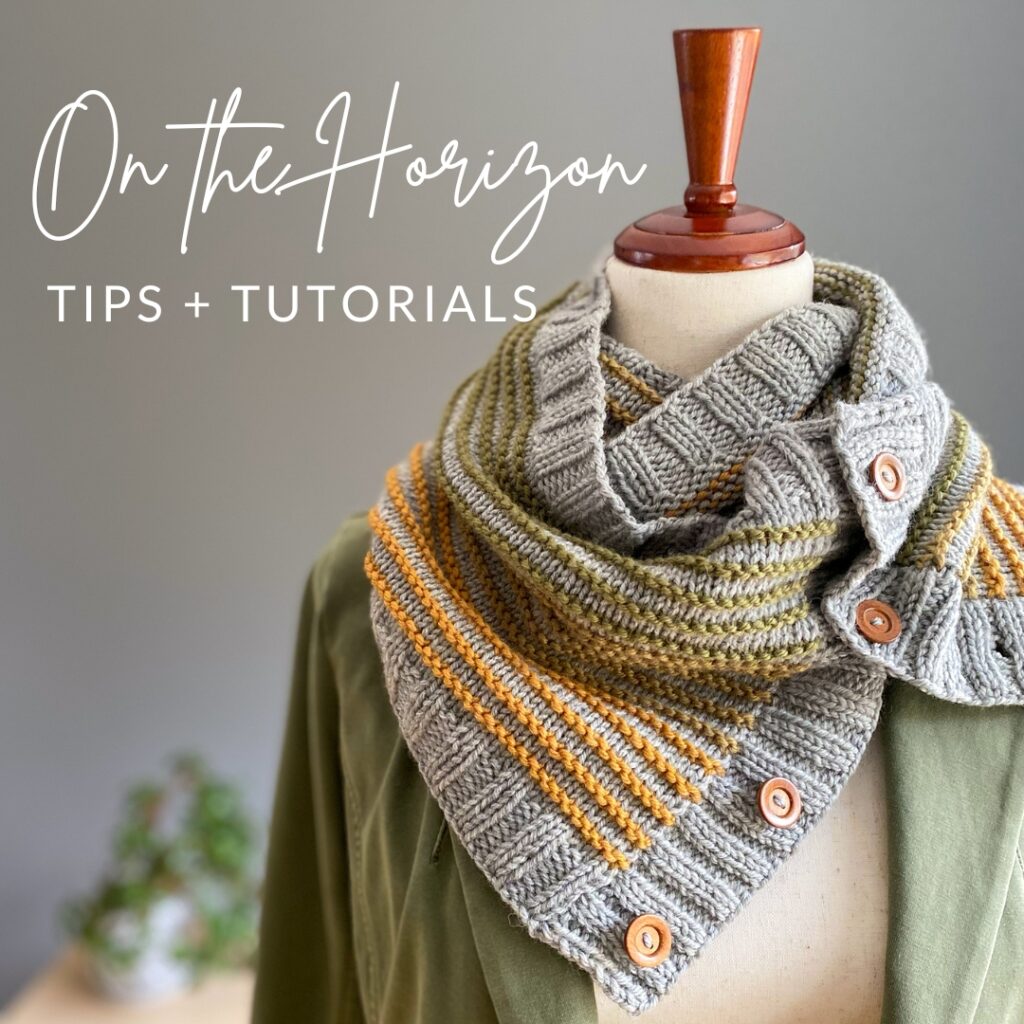
On the Horizon calls for worsted-weight yarn. In the photo above I used Berroco Ultra Wool, but really any worsted-weight yarn can work well for this design! The only type of fiber I may suggest you avoid is 100% cotton. And the reason for this is because it has no elasticity – and with this particular design, because of how you’ll wrap the fabric around your neck and button it, having a fiber that has elasticity is important. But even a cotton blend (so a yarn that has, say, Merino and cotton in it) could definitely be considered.
You’ll need approx. 380 yards of a main color and then 60 yards each for each of the 3 contrasting colors. If you want to use leftover yarn for your contrasting colors, check out this blog post!
Another idea is that you can use 1 solid color as your main color and then instead of pairing it with 3 different contrasting colors, just using 1 variegated or self-striping yarn (you’ll just need 180 yards total of that).
Long-tail Cast-On
In the pattern I suggest using the Long-tail CO method to cast-on all of your stitches. Click here for my video lesson on how I like to work this type of cast-on. Note: if you prefer a different cast-on method, feel free to use it instead.
Joining a new color
At the beginning of sections 1, 2 and 3, you’re instructed to join the CC on row 1. There are lots of different techniques out there for joining a new color or a new skein, but my preferred method is to knit the first stitch with both the new color and the old color together. Then, you drop the old color and continue with just the new color. Click here for my video tutorial on this technique.
Binding-off in pattern
When finishing the top ribbing and both of the side ribbings, you’re instructed to “BO in pattern”. If you are new to this concept, I have this video lesson that explains and demonstrates. It’s for a sweater pattern but the idea is the same.
YO, k2tog (for buttonhole)
When working row 5 of your right-end ribbing, you’ll be working your buttonholes. And these holes are created by working the combination of “YO, k2tog”. I work the same type of technique in this video lesson – it’s for a sweater but the concept is the exact same.
Pick-up and Knit (for side ribbing)
When starting your right-end and left-end ribbing you are instructed to pick-up and knit stitches along each edge. There are lots of different methods for picking-up and knitting, but in the below photos I show exactly how I chose to do it for this particular sample. For more general info about how to pick-up and knit, you can check out my tutorial page here as well.
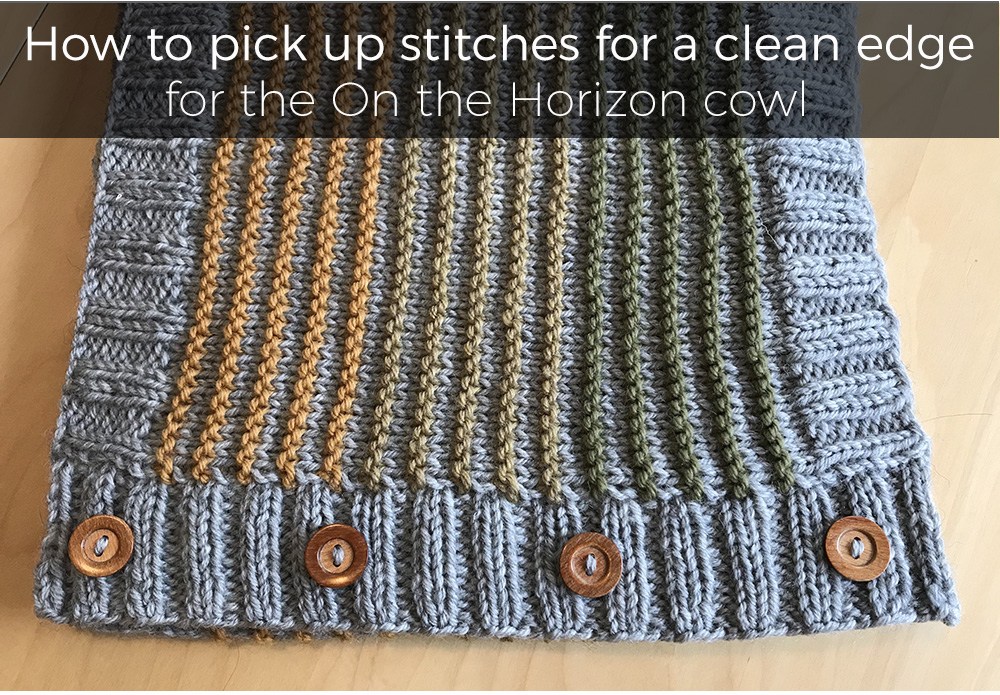
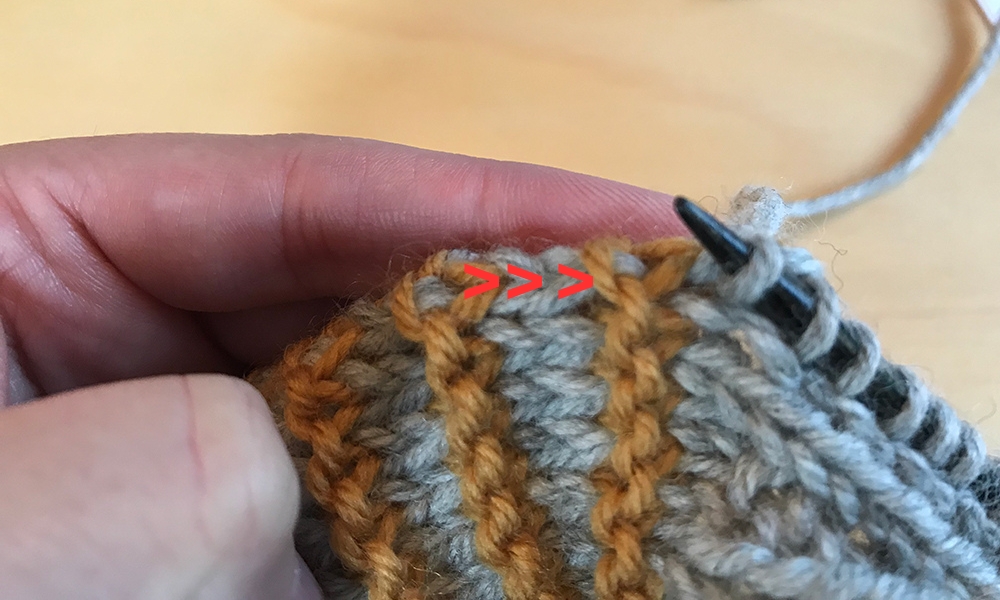
You are instructed to pick-up and k 3 sts for every 4 rows. What I chose to do was to pick-up and knit the 3 “v” stitches that are in-between the ridge. I then skipped the ridge and then repeated all the way through. The photo below shows what I mean by “v” (in red are the “v” stitches). I don’t like to pick-up into the edge stitch but into the “v” column 1 stitch in from the edge.
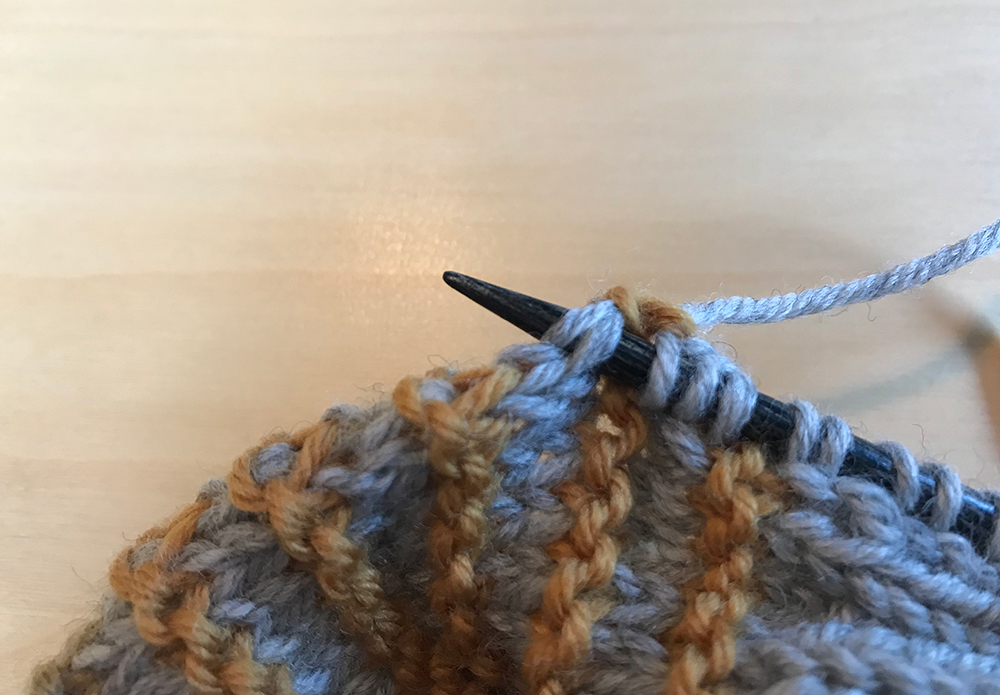
So when picking-up the MC “v”, it looks like this (I go into both legs of the “v”, and then I’ll knit it).
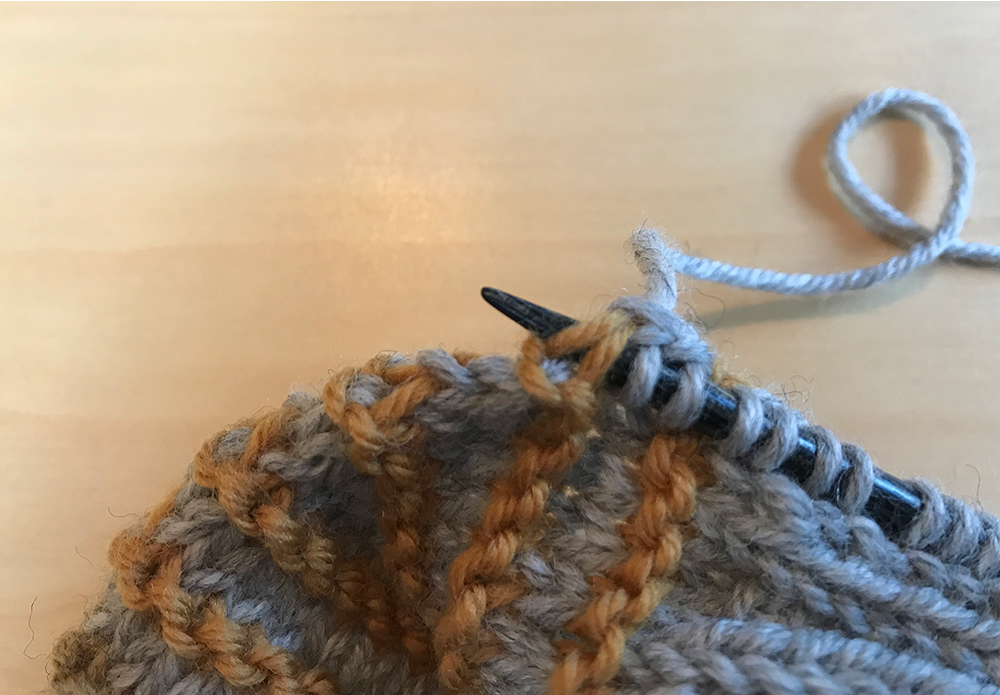
And when I pick-up the CC “v”, it looks like this:
One important note to mention: Since the total number you need to pick-up is 62, if you need to stray from the exact “3 sts for every 4 rows” that is totally ok.

