
How to Switch Needles
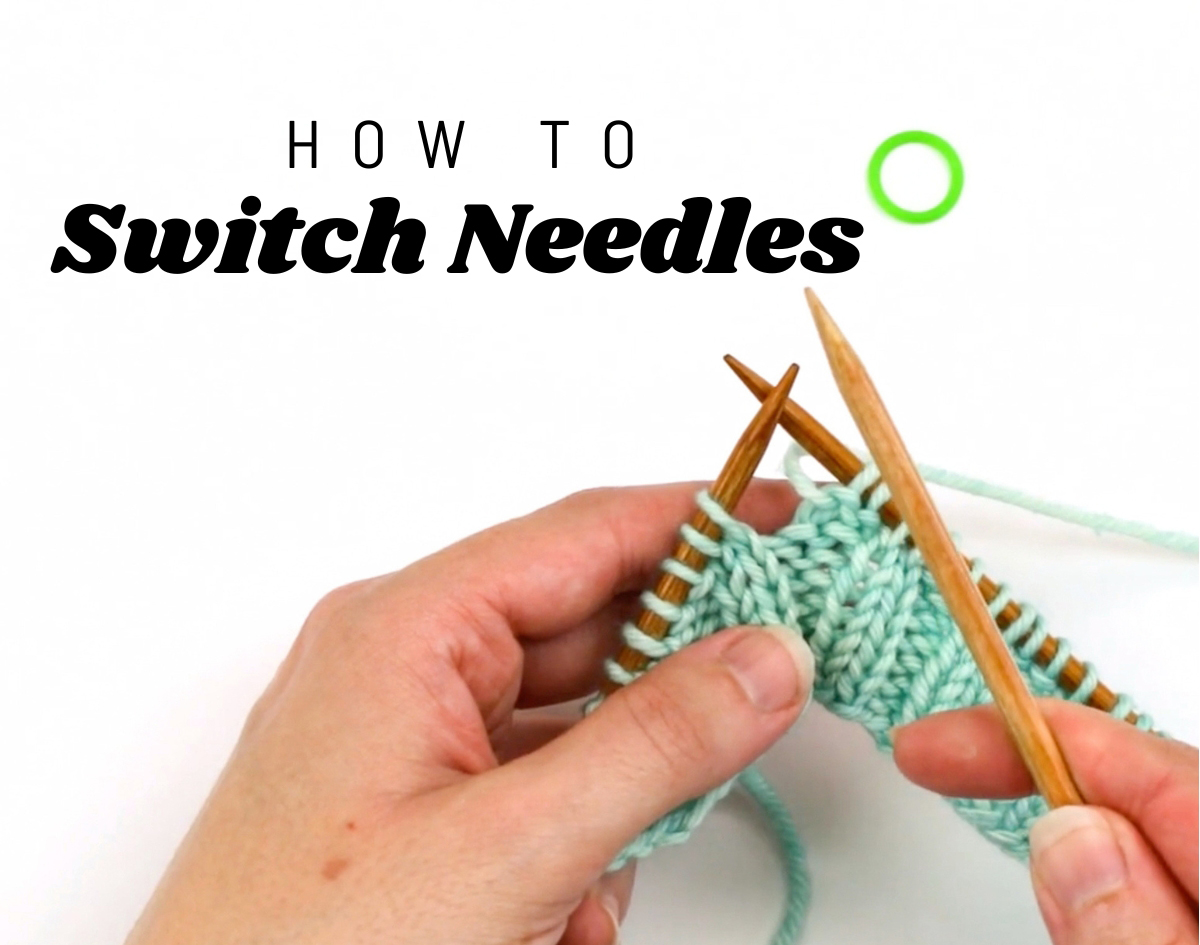
Knitting patterns will often instruct you to switch needles at certain parts in the instructions. Some examples:
- To accommodate an increase in stitches: In a shawl/scarf that starts with just a few stitches on a 24″ circular, but you grow it out with increases. Eventually you may need to switch to a longer circular needle to accommodate the number of stitches you have.
- To work a different stitch pattern (i.e, trim): Often sweaters will have you work the trim (neck trim or hem trim for example) in a needle or two smaller than the size used to work the body.
A question beginners often ask though is this…
How exactly do you switch needles when your stitches are on the current needle?
The answer is simple – you just start working with the new needle! So your ‘old’ needle (the one with all the stitches on it) is in your left hand and then the ‘new needle’ (the one you want to switch to) is in your right hand. So your old needle = left needle and new needle = right needle.
You’ll work all the stitches (as instructed in your pattern), from the old needle to the new needle. And then at the end of the row, all stitches will now be on the new needle and you simply but the old needle aside.
For a visual of this, I have a video lesson that shows me working on my Audrey’s Cardigan, at the point where I’m starting the bottom hem. And so in the very beginning of this lesson I show how to switch needles (since the hem in this piece is worked on a needle size smaller than was used for the body).
So if you are a visual learner, this video will help you to visualize this whole process:
What about when you’re working in the round?
The idea is the same – it’s just visually it may look a little different. But still think of it this way – your old needle is the “left needle” and the new needle is the “right needle”. Below is a visual of me switching needles on an in-the-round project:

Helpful tip: If switching needles at the beginning of a round (BOR), remove the BOR marker when working the “switching round”. Once all the stitches are on the new circular, you can then re-place the BOR marker.