Salt Marsh Wrap Tips

On this page you’ll find tutorial links for all the techniques used in the Salt Marsh Wrap pattern. Plus additional tips to customize this piece in a variety of ways! I cover the following topics/techniques:
- Yarn options
- How to make wrap longer, wider or more narrow
- Popular design adjustment to make it more mindless
- Chart reading basics
- Long-tail cast-on technique
- Eyelet lace stitch pattern
- Blocking
- Fun idea of an alternative use for the wrap
Yarn Options:
This pattern calls worsted-weight yarn – I used Vintage by Berroco (3 skeins for the size as shown). But any worsted-weight yarn can work well for this design! Highly variegated colors won’t show the eyelet stitch pattern as well so I suggest a solid, heathered or semi-solid yarn if you really want the eyelet stitch pattern to pop.
If you want to make your wrap larger in way (either wider or longer), you should plan on purchasing an extra 100g skein.
How to make wrap longer, wider or more narrow:
Adjustments in size are relatively easy in this pattern! Here are tips on how to make common adjustments:
Making it longer: Simply repeat rows 1-12 (of the lace pattern) until about 1″ less than your desired length! Just make sure to purchase extra yarn if you are going to do this.
Making it wider: This scarf is pretty wide as it is (18.5″), but if you want to make it even wider, you just need to cast-on extra stitches. But the number of extra stitches you cast-on must be a multiple of 11. And the total number of stitches cast-on must be a multiple of 11+3.
Making it more narrow: For a thinner scarf, you can cast-on less stitches but the total number of stitches cast-on must be a multiple of 11+3. For a scarf that measures 8-10″ wide (instead of 18.5″ as written in the pattern), you could cast-on 47 or 58 stitches.
Popular design adjustment to make it more mindless
I’ve had a few customers through the years who liked the design and size but wanted it to be a bit more mindless knitting so they can work on it in knit group or chatting with friends (or watching a movie with subtitles!). One popular way to make this pattern that type of project is to work the eyelet stitch pattern for one repeat at the beginning of the pattern and then for one repeat at the end. And then the rest of the scarf in-between is just worked in plain stockinette stitch (other than the garter stitch edging).
So you would work the “Bottom Border” as instructed, then work the first 12 rows in the “Lace Body” section but then instead of repeating those 12 rows you instead work in Stockinette stitch (but keeping your 5 stitch edging on either end in garter stitch). You would do this until you are 3″ less than desired final length. Then you would work the 12 stitch lace pattern 1 time, and then proceed to the “Top Border” section and work as written.
Chart reading basics
The Salt Marsh Wrap pattern provides the lace stitch pattern both written-out as well as charted. If you are new to charts and would like some practice, I think this pattern is a great option. Check out this blog post where explain chart reading basics and use this pattern as my example.
Long-Tail Cast-On:
My preferred cast-on is the long-tail cast-on (although you can use other cast-ons if you prefer). Click here to watch my video tutorial about this cast-on.
Eyelet Lace Stitch Pattern:
The eyelet stitch is created using these stitches: YO, skp and k2tog. If you are new to these stitches, I have a couple of different resources that might be helpful.
Eyelet Stitch Blog Post: I wrote a blog post about eyelet stitches and included some photo tutorials of working k2tog, YO and skp. I was demonstrating a slightly different eyelet stitch, but the techniques used are the same for Salt Marsh Wrap. Click here to view the post.
YouTube Videos: Below are links to my YouTube videos for each of these stitches:
Blocking:
Blocking is very important when it comes to eyelet lace patterns because it helps to open up the eyelet stitches. Are you new to blocking? Check out my blocking tips here!
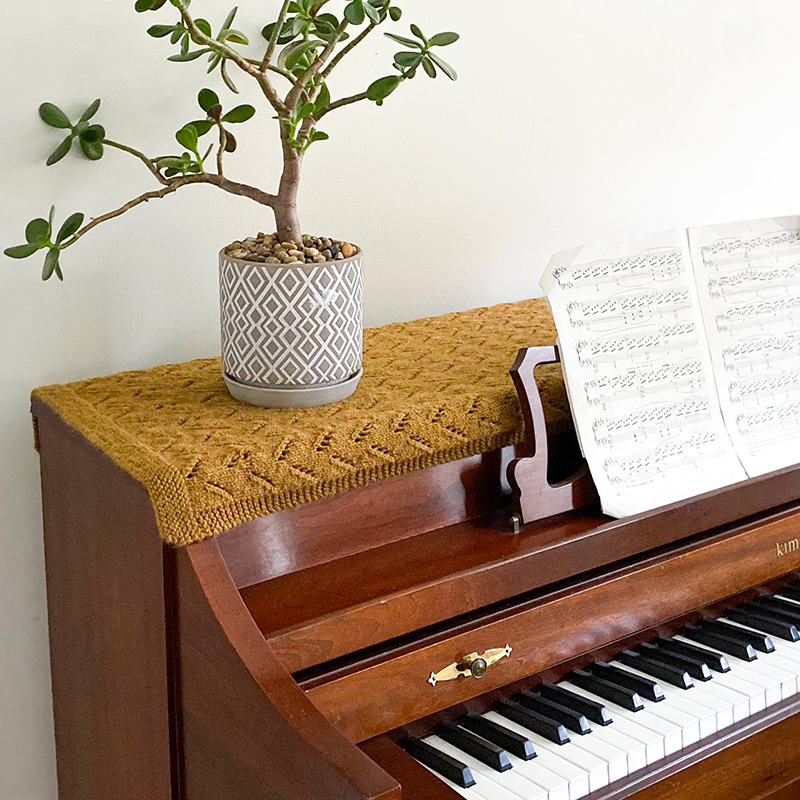
Fun idea of an alternative use for the wrap
Because of the width of this wrap/scarf, it can also make a good table runner! You may need to make it longer or shorter depending on where you want to place it. Here’s an example of how it could look on top of a piano (note though: to make it fit on a piano, you will indeed have to make it longer).